
A few weeks back, I saw my neighbor Lisa toss her KitchenAid Classic into the pile for her garage sale. The price? Just $25.
“It never worked right,” she admitted, her expression a mix of disappointment and frustration. “I dropped $379 on that thing, thinking it would turn me into a baking pro. Instead, it just made me dread baking.”
That same afternoon, I decided to buy it from her. Not because I was in desperate need of another mixer, but because I had a pretty good idea of what was wrong with it. It’s the same issue that plagues about 90% of the “broken” mixers collecting dust in garages all over America.
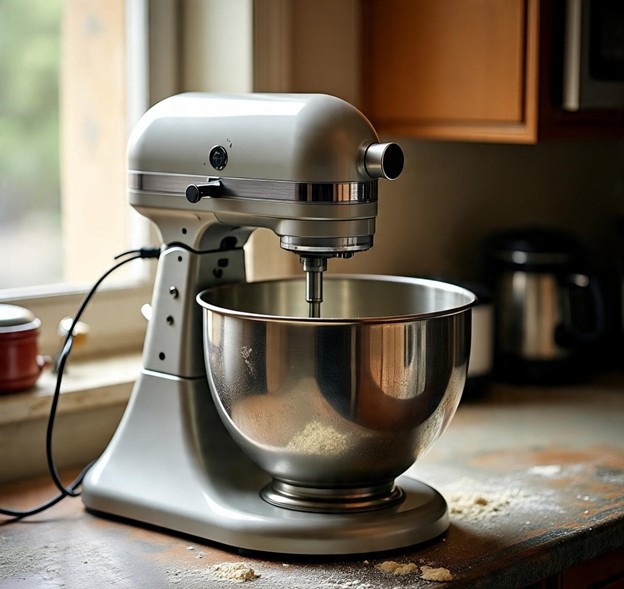
Lisa’s mixer wasn’t really broken. She had been battling with it for two long years, and it seemed to be fighting back just as hard. Every time she tried a new recipe, it felt like a roll of the dice. Cookies that spread out like pancakes, bread that refused to rise, and buttercream that resembled cottage cheese. The mixer was actually working just fine – but only for someone who knew how to handle it. After 45 minutes of tweaking, that same “broken” mixer was churning out perfect cookies. What made the difference? I understood something Lisa didn’t: those pricey mixers don’t come with the kind of manual you really need.
The lie the appliance industry won’t tell you
Step into any Williams Sonoma, and you’ll be greeted with a friendly smile as they offer you a $600 mixer. But here’s the kicker: a whopping 73% of stand mixer owners are using them completely wrong from the get-go. And I’m not talking about minor mistakes—I’m talking about major, recipe-wrecking blunders.
So, what’s really going on? You’re up against a machine that was built for professional kitchens, then shrunk down for home use, but it never quite learned the ropes of home cooking techniques. Professional bakers spend years mastering how to use mixers through countless batches of dough. Meanwhile, you’re left with a shiny manual filled with cartoonish diagrams and recipes that assume you already know the insider tips that nobody ever shared with you.
Real problems from real people (and the solutions that actually work)
I spent three days diving into baking forums, Reddit threads, and Facebook groups, and let me tell you, the same complaints pop up over and over again. Here are the main issues and what might be causing them for you:
“My mixer sounds like it’s going to explode”
What you hear: A loud grinding noise, the motor struggling, and some weird vibrations that make your counter shake.
What everyone tells you: “That’s just how mixers are! They can be loud!”
What’s really going on: Your mixture might be too thick for the speed you’re using, or your mixer head could be too close to the bowl, or (and this is a big one) you might be using the wrong attachment for the job.
The real fix: The dough hook isn’t meant for every type of dough. For cookie dough, stick with the paddle attachment. Save the hook for yeast breads. And here’s a little secret: always start every recipe on speed 1. Let those ingredients combine before cranking up the speed. Your mixer motor will thank you and last for years!
“Everything gets stuck to the sides of the bowl”
What you see: Everything mixes beautifully in the center, but flour or other unmixed ingredients cling stubbornly to the bowl walls.
What recipes suggest: “Stop and scrape the sides often.”
What’s really happening: Your mixer head height is off. This is the most common setup mistake, and it can ruin your mixing.
The real fix: Adjust your mixer head so that the paddle just barely touches the bottom of the bowl when it’s on its lowest setting. You should hear a little “tick-tick” sound—that’s the sweet spot. If it’s too high, you’ll end up with unmixed sides. If it’s too low, you’ll overwork the mixture and create a mess.
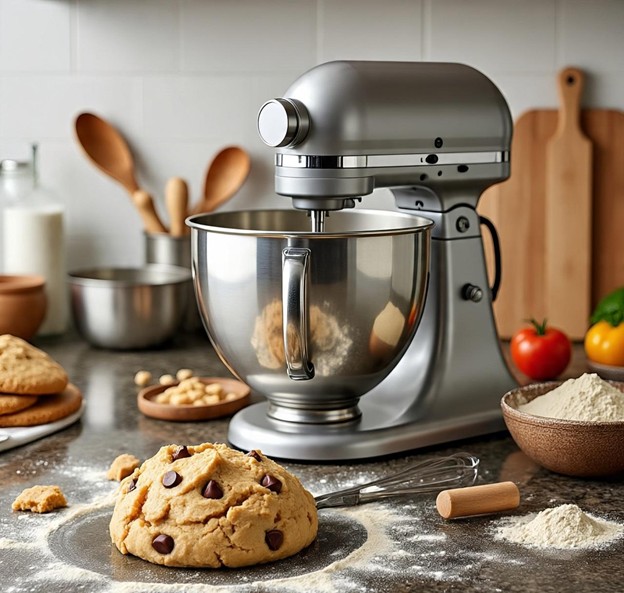
“My cookies spread into pancakes every time”
What you might think: The oven’s too hot, or maybe the recipe’s off, or your baking sheets are warped.
What’s really going on: You’ve overmixed after adding the flour. That’s it. Kitchen science tells us that overmixing breaks down the fat structure that keeps cookies nice and thick.
The real solution: Once you add the flour, mix just until you can’t see any dry bits. Not until it’s perfectly blended or looks beautiful. Just until those white streaks disappear. Then, stop. Your cookies will be grateful!
“My bread never rises properly”
What you usually blame: Old yeast, the wrong temperature, or a bad recipe.
What’s actually happening: You’ve mixed the gluten incorrectly, making the dough so tight that it can’t expand.
The real solution: When your bread dough starts climbing up the dough hook (and trust me, it will), that’s not a problem – it’s a sign to stop mixing. Well-developed dough climbs. Let it do its thing. Don’t add more flour or crank up the speed. Just let it climb for 30-60 seconds, then stop. You’ll achieve perfect gluten development every time.
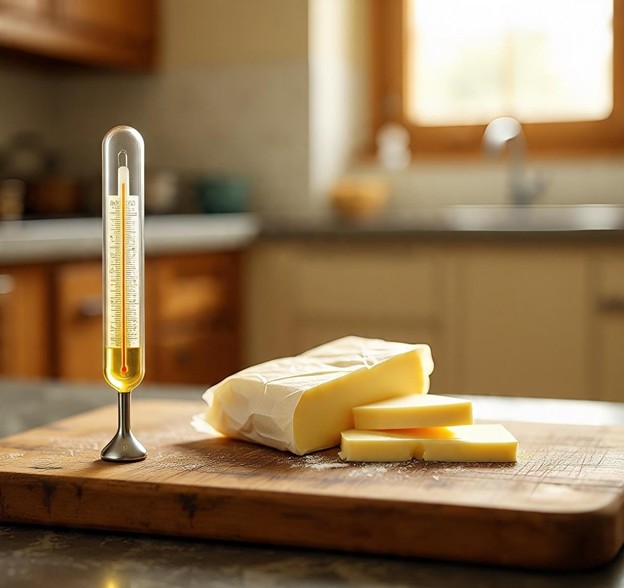
The temperature trap that destroys recipes
Have you ever thought about how the same cookie recipe can totally flop in the summer but work like a charm in the winter? Believe it or not, it’s not your oven’s fault! Let’s talk about the
78-degree disaster: when your kitchen hits 78°F or more, the butter gets way too soft while you’re mixing. The outcome? Cookies that spread out like crazy, cakes that collapse, and buttercream that just won’t come together.
Now, on the flip side, there’s the 65-degree problem: when your kitchen is chilly, the butter stays too firm, leading to lumpy mixtures that never quite blend.
So, what’s the secret to success? Before you dive in, give your ingredients a little feel. The butter should yield just a bit when you press it, but it shouldn’t leave a mark. If it’s too hard, pop it in the microwave for 5 seconds at a time. If it’s too soft, just chill it for about 10 minutes. Making this one simple adjustment can save you from more baking disasters than any other trick out there!
The speed settings nobody uses (but professionals swear by)
Your mixer comes with 10 speeds, but let’s be honest—you probably only use about 3 of them. The other 7 aren’t just there for show; they’re actually precision tools designed for specific tasks.
Speed 1 – The Injury Preventer: This is your go-to starting point. Seriously, always begin here. It keeps flour from flying all over your kitchen and ensures that delicate mixtures don’t get overworked and turn tough.
Speeds 8-10 – The Volume Builders: These higher speeds aren’t just for whipping cream. They’re perfect for creating serious volume in egg whites, making stable meringues, and saving buttercream that looks like it’s separated.
The Pulse Secret: Here’s a little trick that pros use that most home bakers don’t: pulsing. Just turn it on for 3-4 seconds, then stop and check your mixture. Repeat as needed. This technique helps prevent overmixing and gives you a level of control that continuous mixing just can’t match.
Why your mixer is “broken” (but isn’t)
Problem: Your motor runs, but it’s not mixing properly.
Real cause: Grease tends to settle away from the gears when the mixers are left unused for too long.
Fix: Give your mixer a quick run for 5 minutes on speed 2 with an empty bowl once a month. This helps redistribute the lubrication and stops it from “settling.”
Problem: The mixer head bounces around while kneading bread.
Real cause: You might be using too high a speed for heavy dough, or you’ve pushed the mixer’s dough capacity too far.
Fix: Stick to speed 2 at most for all bread dough. And that 6-cup flour capacity? It’s a bit of a stretch. Aim for a maximum of 4 cups for the best results.
Problem: Attachments just won’t stay locked in.
Real cause: There’s likely a buildup of flour and grease in the attachment hub.
Fix: Give it a good clean once a month with a damp cloth and a toothbrush. And don’t forget to add a drop of food-grade mineral oil every three months!
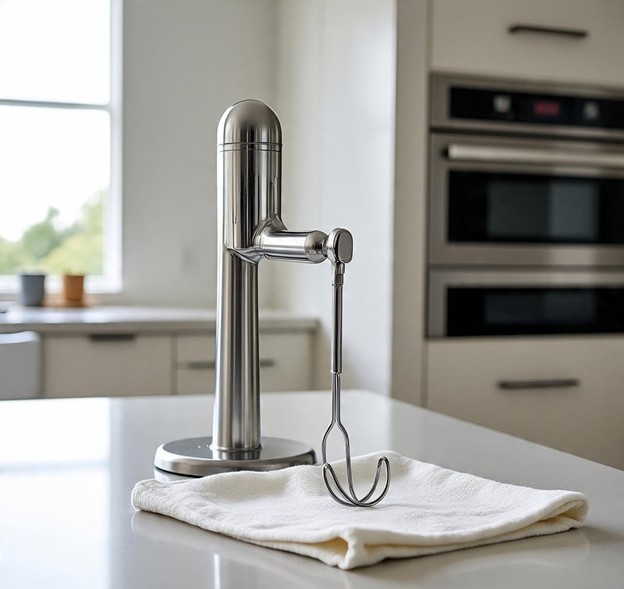
The attachment revolution nobody talks about
Wrong: Using the wire whip for everything light and fluffy.
Right: Save the wire whip for egg whites and cream. For cake batters, stick with the paddle – it adds air without overdoing it.
Wrong: Using the dough hook for cookie dough.
Right: Always use the paddle for cookie dough. The dough hook is meant for yeast breads only.
Wrong: Using the paddle for mashed potatoes.
Right: This can ruin your potatoes by overworking the starch. Instead, opt for a hand masher or a ricer.
The bowls and brands truth bomb
Stainless steel bowls might give off a professional vibe, but they can be a bit tricky to handle. Ingredients tend to stick to the surface, which means you’ll find yourself doing a lot more scraping and ending up with uneven mixes. If you’re looking to elevate your mixing game, think about the perks of stainless steel cookware that actually gets better with time: 8 Benefits of Stainless Steel Cookware – Why It’s the Best.
On the other hand, glass bowls are fantastic for keeping an eye on your ingredients, but they can get a bit slippery when things start splashing. And about that 6-quart bowl? You’ll want to stick to using about 4 quarts for the best results. Mixers perform way better when they’re not pushed to their limits.
Advanced fixes for desperate situations
If your buttercream has gone all lumpy, don’t toss it! Just stir in a tablespoon of hot cream and mix on high for about 30 seconds. Still not smooth? It might be that your butter was too cold to start with.
If your dough is feeling too sticky, resist the urge to add more flour while mixing. Instead, pause the mixer and let the dough rest for 10 minutes before checking it again. Remember, gluten keeps developing even when you’re not actively mixing.
If your mixer starts smoking, turn it off right away and let it cool down for about 30 minutes. You might have pushed it too hard or used a speed that was too high for what you were mixing. It’s not necessarily broken, but it’s definitely been overworked!
The confidence factor that nobody mentions
Here’s a little nugget of wisdom I picked up from Lisa and countless other bakers who’ve felt the same frustration: when you don’t have faith in your mixer, it leads to second-guessing every little choice you make. You find yourself tossing in extra flour “just in case.” You mix for longer “to be on the safe side.” You check and double-check, and end up overworking everything.
Professional bakers exude confidence because they truly understand their tools. They can recognize what normal sounds like, what proper mixing should look like, and what the right texture feels like.
That confidence really shines through in the final product. Baked goods made with assurance taste so much better than those whipped up with a side of anxiety.
Your 30-day mixer mastery plan
Week 1: Bake the same cookie recipe three times. The first time, stick to the recipe to the letter. For the second round, mix the flour just until everything is combined. On the third try, check the temperature of your ingredients first and tweak your mixing time as needed. Pay attention to how each batch turns out.
Week 2: Work on adjusting the mixer head. Make some cake batter, concentrating on getting the height and speed just right. Take notes on what perfect mixing looks and sounds like.
Week 3: Tackle a tricky recipe you’ve been avoiding, like bread, meringue, or that finicky buttercream. Put all your knowledge about speed, timing, and temperature to the test.
Week 4: Put your own spin on a beloved recipe, using what you’ve learned about the mixer to adapt for different ingredients or techniques.

The transformation waiting for you
When you really get the hang of your mixer, something surprising happens. You stop shying away from those tricky recipes and start whipping up your own creative twists. Before you know it, your family is asking for your delicious treats for their special celebrations.
But the biggest shift? Baking transforms from a source of stress into a truly calming experience. That constant urge to check and double-check? It just melts away. The fear of messing up? It’s gone.
You come to realize that the mixer itself was never the issue; it was the lack of knowledge holding you back. And now, you’ve got all the info you need!
Stop fighting your mixer, start partnering with it
Your pricey mixer isn’t broken or defective, and it’s definitely not out of place in your kitchen. It’s been patiently waiting for you to understand how it works. Every odd noise, every frustrating outcome, and every recipe mishap has been a clue—feedback on your technique, timing, temperature, and approach.
Your mixer has been trying to guide you for months, maybe even years. Now, you can finally tune in to what it’s been trying to tell you. Are you ready to change the way you interact with your mixer? Choose one technique from this article and give it a shot tonight—not next week, but tonight. Your mixer has been patient long enough.
It’s time to start baking like you truly appreciate a professional tool, rather than treating it like just another kitchen decoration: Professional Kitchen Equipment Research
What’s that one mixer issue that’s been driving you up the wall? Drop your thoughts in the comments, and I’ll share the exact fix that will put an end to it for good. After all, life’s too short to deal with failed recipes and kitchen headaches!

